How To Segment Entire Object And Its Component Parts With Mask Splitting Method

Complete tutorial on labeling multiple parts of the object using efficient splitting annotation technique in Computer Vision
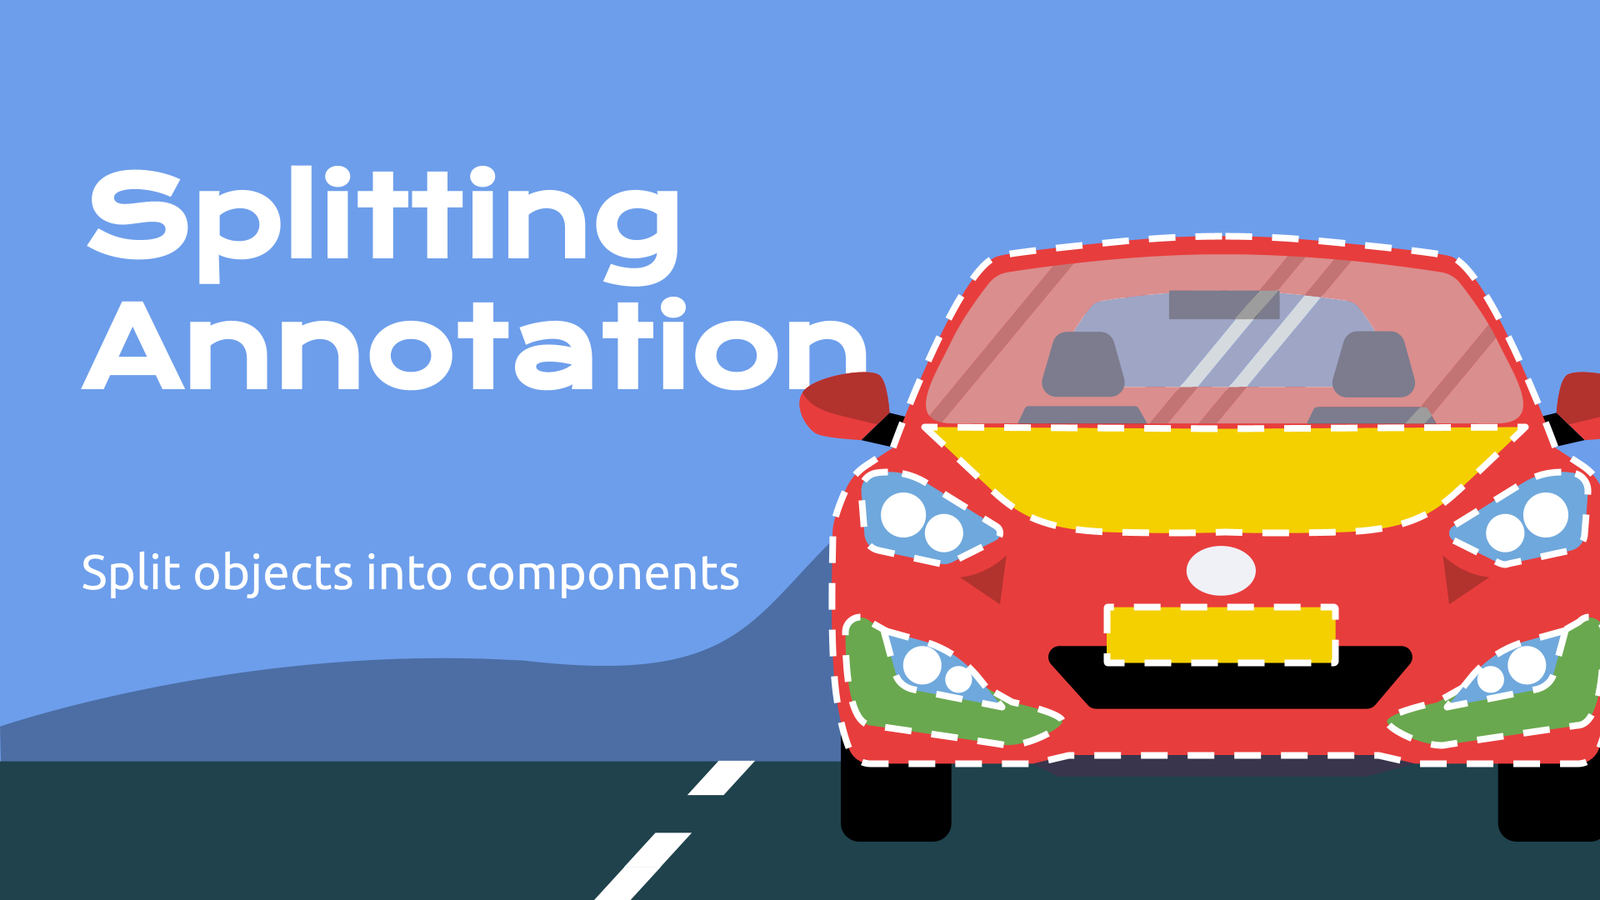
Table of Contents
Introduction
Some Computer Vision tasks require annotation of different distinct parts of an object. This detailed approach greatly improves the performance of the deep learning algorithms by allowing them to analyze each element in more depth and in a more precise manner. Among others, Splitting of an object into parts has the following benefits:
Easy to create: To cut out a part, all you need to do is circle it on the object itself and change the class.
Quick edit: The ability to quickly change the class of a created object is a great addition to this method, as changing the class is one of the key actions in this annotation strategy.
Easy to launch: Splitting may be performed right inside the Labeling Toolbox (without launching any additional applications).
Seems straightforward, yet during implementation, various challenges can surface. In today's post, we will explore the Splitting Method for image segmentation in action.
Video tutorial
In this video guide you will learn how to use different annotation tools during labeling to efficiently annotate objects and their parts:
-
Create annotation classes
-
Segment the entire object
-
Copy-paste the object to make duplicate that you will split into parts. We recommend to use the hotkeys
CTRL-CandCTRL+V(Windows, Linux) orCMD+CandCMD-V(MacOS) to make the process easy and fast. -
Use polygon split instrument to separate parts from each other
-
Select the correct class for every part you create.
Industrial Use Cases
Examples of the importance of detailed annotation can be traced back to various industries:
Automotive: For the development of autonomous driving systems, it is necessary to accurately annotate each part of the car such as doors, windows, wheels, headlights to ensure that they are recognized and responded to correctly by the system.
Medicine: Annotating medical images such as X-ray, MRI or CT scan requires accurate labeling of organs, tumors and other pathologies. For example, detailed images of different parts of the brain, including brain lobes and cerebellum, help doctors in diagnosis and treatment planning.
Agriculture: In agriculture, especially in precision agriculture and breeding, image annotation is used to analyze parts of plants such as fruits and vegetables. For example, tomato research or quality control may require detailed labeling of internal parts including seeds and fruit shells.
Fashion: Detailed annotation of clothing items such as dresses, shirts, pants and accessories is required for visualisation. This includes labeling various attributes such as color, pattern, fabric type and style details. In addition, annotation of body measurements and proportions is essential for virtual fitting and customization capabilities, allowing customers to visualize how clothes will fit before making a purchase.
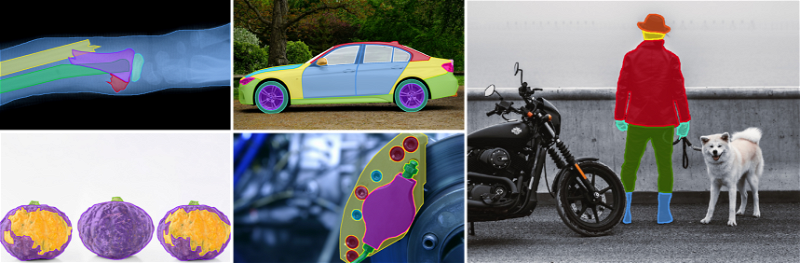 Industry examples where various component parts of an object have to be annotated for custom training dataset.
Depending on the specific requirements of the industry, different object annotation methods can be applied, each with its own unique characteristics such as speed, accuracy, and data processing specifics.
Annotation Strategies for Complex Objects
-
The annotation Overlay Method, known as Overlaying, is one of the most common and effective annotation approaches, widely used in landmark projects such as the Cityscapes Dataset. It involves overlay of annotations based on their priority, thereby ensuring accuracy and detail in the creation of semantic segmentation masks. In this process, each object in an image is annotated so as to ensure correct overlay, following a hierarchy of priorities, pre-scripted in the annotator's manual. As a result, a semantic segmentation mask is generated for each image in which each pixel is classified according to the type of object it belongs to. This method of overlaying annotation allows the creation of comprehensive, multi-layered maps of scenes or objects.
Objects Segmentation with Overlaying approach. -
The Snap To Boundaries method is another popular approach to annotation, although it is less common than Overlaying. The main difference in this method is the way the objects are arranged: they must touch, but not overlay, each other. The main difficulty with Snapping is the need to precisely connect the boundaries of each object in the image. The Supervisely team has greatly simplified this process by introducing a feature that automatically connects adjacent points.
Objects Segmentation with Snap To Boundaries approach. -
Splitting is the method to segment the entire object and then cut the whole mask into smaller pieces with the specialized manual annotation instrument. We will cover the approach in detail in this post.
Objects Segmentation with Splitting approach.
Split Object Method: What is it?
The Split Object method involves breaking down an object into smaller, constituent parts, and subsequently classifying them. In this way, each separate part of the object is annotated individually. You can also assign specific characteristics to each part using attributes.
When To Use?
High-detail object annotation: If your project requires detailed annotation of composite or large objects, where objects consist of multiple components, this method is for you. By splitting objects into small parts, you can label the boundaries and attributes of each part with high precision, essential for tasks that require high-level detail.
Deep learning model training: For deep learning tasks where segmentation accuracy and detail are paramount, employing split masks can significantly enhance the training quality of your models. This method facilitates the creation of more nuanced and precise training data, crucial for sophisticated AI applications.
Custom attribute assignment: For projects that need specific attributes assigned to different parts of an object, this method allows for such customization, enhancing the granularity of the data.
Tutorial: Labeling Parts of Objects
In this tutorial, we will show you how to utilize the Splitting Object method to annotate separate parts of an Object.
Step 1: Create classes
Initially, we establish distinct classes for various car components, such as Tire and Window. These classes can be created in two primary ways:
Project Settings: Directly within the project settings of your dataset.
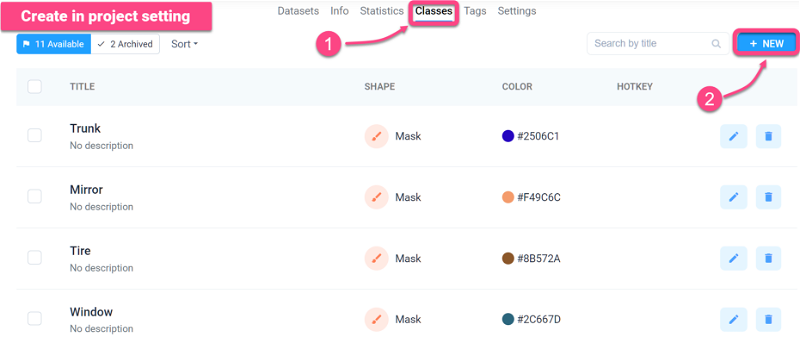 Create class in project setting
Object List Panel: By selecting the current object and opting to 'Create Class'.
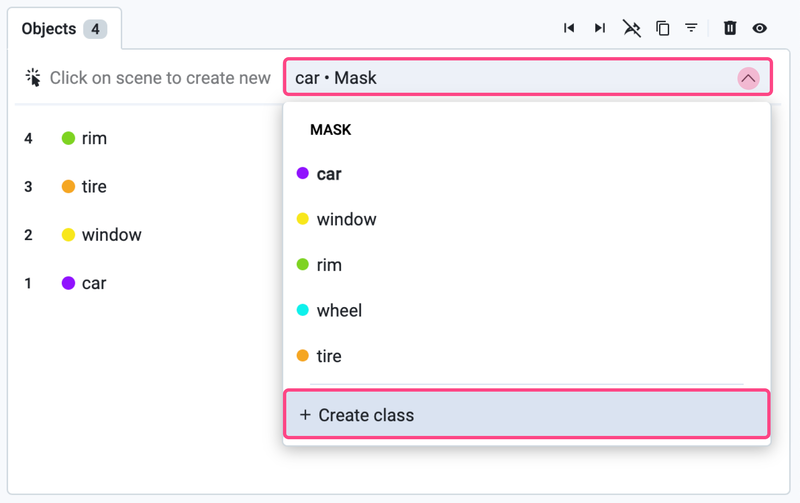 Create class in objects panel
Step 2: Segment an Object
Begin by selecting an object to annotate. Use the Pen Tool in the Labeling Toolbox to outline the entire object, creating a primary mask.
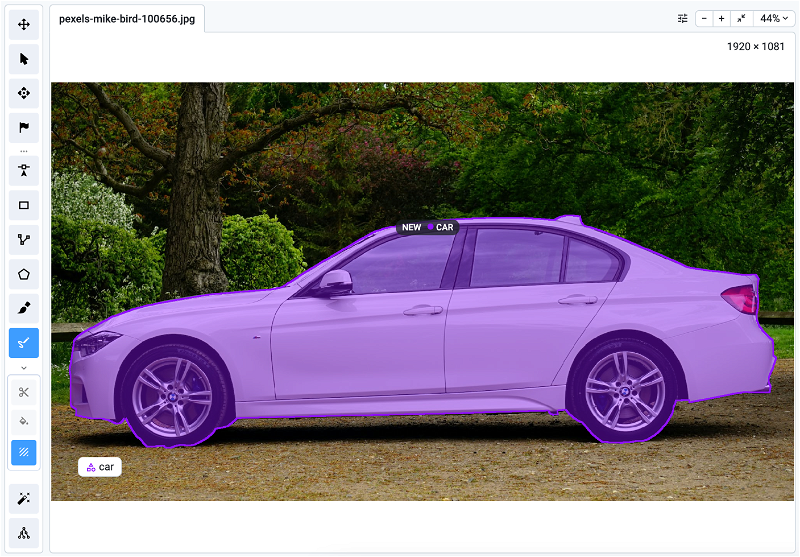 Entire object Labeled
Hint: To ensure safe editing of an object, we recommend that you first create a duplicate of the object and then make the split in this duplicate. This will avoid data loss and provide an easy rollback to the original version if necessary. It will allow you to bind whole object with its parts / components on the post-processing stages, for example, when you prepare training dataset for your Neural Network.
Step 3: Split and Classify Object Parts
Next, focus on the finer details within the primary mask: split your mask into multiple separate objects with Polygon Split.
Splitting the figure into parts results in multiple objects of the same class, which can then be individually classified.
Hint: To quickly cut out the specific pixels of an object, click randomly near the object's boundary in areas without nearby objects.
If necessary, Change the class of each part of an object. You can opt for two alternative methods:
- Right-click on the object and chose Change Class (as shown at the video above), OR
- Select the object from the right panel and modify its class.
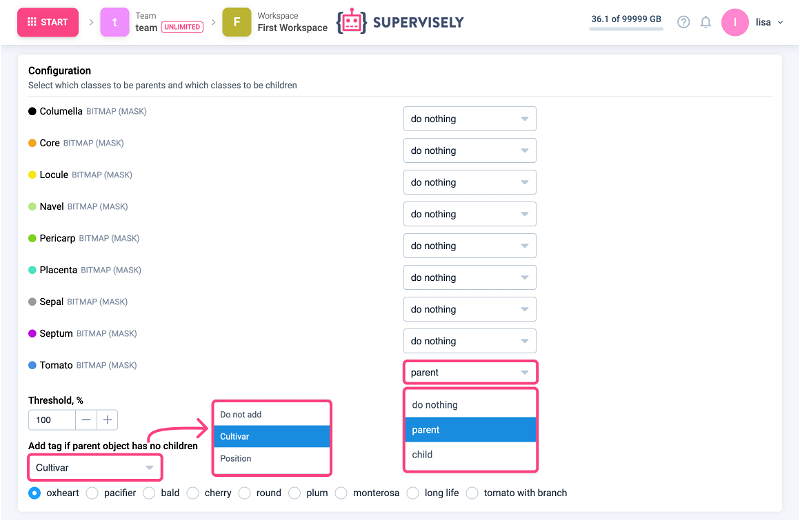
Hint: If you need to bind the objects into groups, use Group Nested Objects app that facilitates the organization of nested objects by creating cohesive groups, enhancing efficiency in annotation and analysis tasks.
Conclusion
This guide provides a guide on effective way to split the object into parts, which is essential for the complicated segmentation of multi-component objects. Whether you need high-detail annotations, better training for AI models, or customized attributes, this tutorial guides you through the process step by step.
Supervisely for Computer Vision
Supervisely is online and on-premise platform that helps researchers and companies to build computer vision solutions. We cover the entire development pipeline: from data labeling of images, videos and 3D to model training.
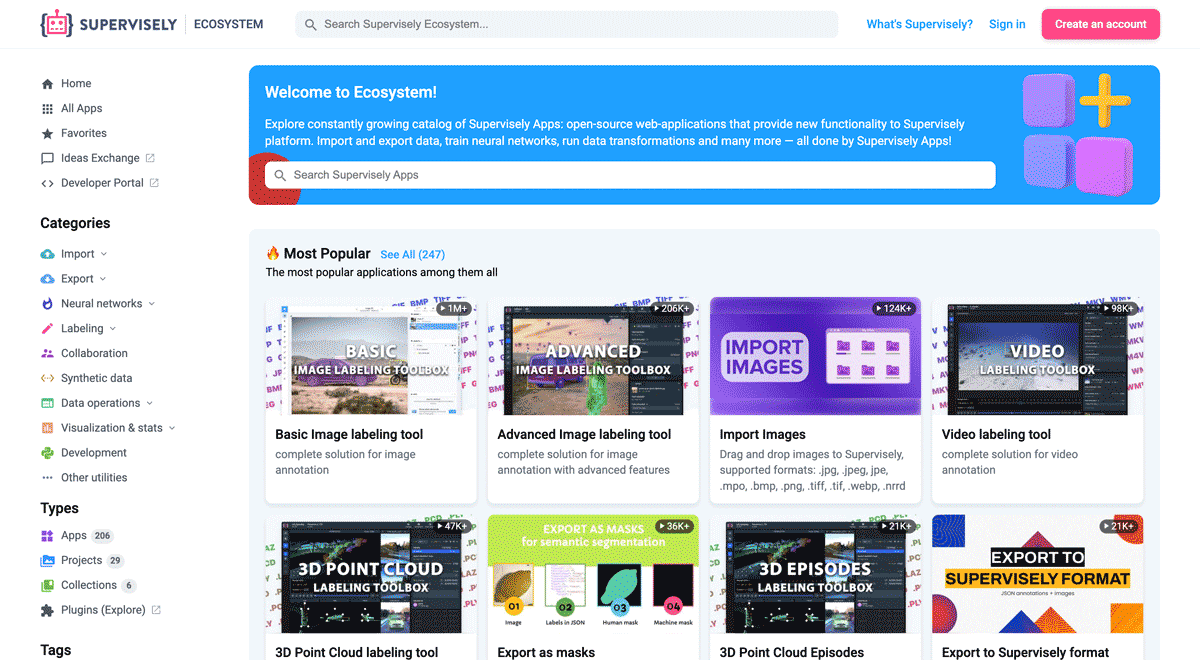
The big difference from other products is that Supervisely is built like an OS with countless Supervisely Apps — interactive web-tools running in your browser, yet powered by Python. This allows to integrate all those awesome open-source machine learning tools and neural networks, enhance them with user interface and let everyone run them with a single click.
You can order a demo or try it yourself for free on our Community Edition — no credit card needed!
Liked this blog post? Share it!


Subscribe to new blog posts
Table of Contents
🤖 Try Supervisely: it's free!
Full stack platform with hundreds of Apps ready to solve any computer vision task: from labeling to model training. Create account


