
Mask Pen Tool: How to Segment Objects and Their Parts
 Lisa UspenyevaUpdated
The Mask Pen tool mixes polygon clicks with freehand drawing in one mask. Learn how to use it, split an object into parts, fix holes and pick the right tool.
The Mask Pen tool is a manual segmentation tool in the Supervisely image labeling toolbox. It joins polygon clicks and freehand drawing in one mask. You click for straight edges, draw for curves, and finish with one object. It also splits one object into parts.
 Object segmentation of an airline, factory crane hook, robotic hand and medical vial using Mask Pen tool
What is the Mask Pen tool?
The Mask Pen combines the best of a polygon and a brush. Objects often have mixed edges: a sharp metal rim next to a blurred shadow. A polygon is slow on curves. A brush is imprecise on corners. The Mask Pen lets you switch between the two while you outline a single object. The docs page for the Mask Pen lists every option.
Typical uses:
- Aerospace and manufacturing: outline components, wear and product defects.
- Medical imaging: delineate organs, tissues and anomalies on images. For DICOM studies, see the DICOM labeling toolbox.
- Agriculture: segment ripe and rotten fruit, or plant parts.
- Urban planning and infrastructure: annotate buildings, roads and utilities.
The Community Edition is free and needs no credit card, so you can try the tool on the platform.
How do I use the Mask Pen tool?
The docs include a 5-minute video tutorial, and the same video is below.
Combine polygon and brush mode
Switch between polygon mode and brush mode while you draw one mask. Adapt the approach to the changing shape of the outline. To finish the figure, press SPACE or return to the starting 🟢 point.
Add and remove parts of a mask
Select the object and draw the missing section to add it. To remove a part, hold SHIFT and draw over it. Bucket Fill closes holes in the segmentation with one click. The selected object is highlighted by a grid of dots.
Cut a mask in two with Polygon Split
Outline the area you want to separate and reconnect to the starting point. The new shape appears as a new object of the same class in the objects list. To change its class fast, right-click the object and pick a class. The same menu deletes or hides an object.
Label partly visible objects
Unlike a regular polygon, the Mask Pen can pick up scattered pieces of one object, thanks to its brush mode. Each piece belongs to the same object until you press SPACE and choose a new shape.
Change visualization settings
Adjust opacity, use random colors for new objects, and tune other display options while you annotate.
Mask Pen hotkeys
Press 9 to select the Mask Pen tool. Use polygon split and bucket fill from the tool subpanel.
| Action | Hotkey |
|---|---|
| Form polygon area | CLICK |
| Form free shape area | CLICK + DRAW |
| Erase | HOLD SHIFT |
| Remove point | SHIFT + CLICK |
| Finish | SPACE or CLICK THE FIRST POINT |
| Zoom | MOUSE WHEEL |
| Move the scene | Hold RIGHT MOUSE BUTTON |
Mask Pen vs Polygon vs Brush vs Smart Tool: which should I use?
| Tool | Best for | Weak spot |
|---|---|---|
| Polygon | Hard, straight edges: boxes, signs, buildings | Slow on curves and soft edges |
| Brush | Soft, irregular shapes and quick corrections | Hard to keep a clean straight edge |
| Mask Pen | Objects with both sharp and smooth edges, objects in several pieces, splitting into parts | Still manual: you draw every outline |
| Smart Tool | Fast first masks with AI from a few clicks | Depends on the model; edges may need a manual fix |
You can mix them. A common pattern is to get a first mask with the Smart Tool and then fix its edges with the Mask Pen. The Smart Tool docs describe the Brush and Pen as the tools for refining masks. For a wider comparison of manual methods, read the overview of manual segmentation approaches.
How do I label the parts of an object?
Some computer vision tasks need the object and its components: a car and its doors, windows and wheels, or a fruit and its seeds. Splitting suits this job. It is easy to create (circle a part, change the class), quick to edit (change a class in two clicks) and it runs inside the labeling toolbox, with no extra app.
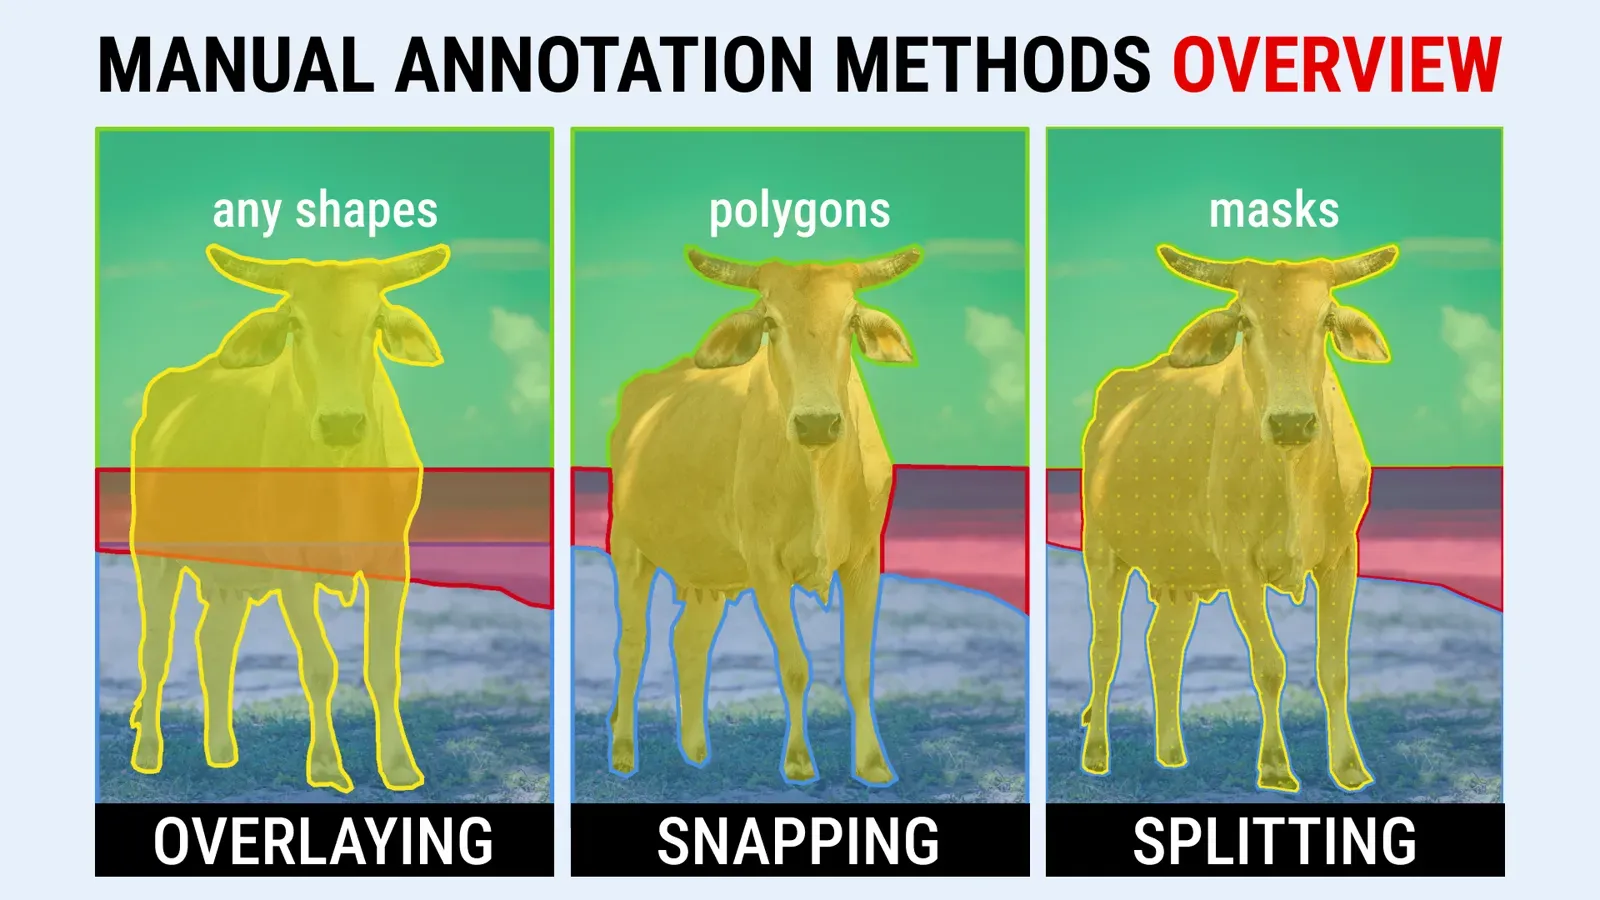
There are three common ways to label parts:
| Method | How it works | Use it when |
|---|---|---|
| Overlaying | Objects are drawn on top of each other and priority decides which one wins at each pixel | You build semantic masks of whole scenes |
| Snap to boundaries | Objects touch but never overlap, and neighboring points snap together | Parts share long borders |
| Splitting | Segment the whole object, then cut the mask into pieces | You want the whole object and its parts as separate labels |
Overlaying is widely used in public datasets such as Cityscapes, which has 5,000 finely annotated images, 20,000 coarsely annotated images, 30 classes and 50 cities. Each pixel gets the class of the object with the highest priority.
With snapping, the main difficulty is joining the borders exactly. Supervisely has a polygon snapping feature that connects adjacent points for you.
Splitting is the method below.
Where you need it:
- Automotive: doors, windows, wheels and headlights so a driving system can recognize each one.
- Medicine: organs, tumors and other pathologies, for example the lobes and cerebellum of the brain.
- Agriculture: plant parts such as fruit, seeds and shells.
- Fashion: garments and their details for virtual fitting.
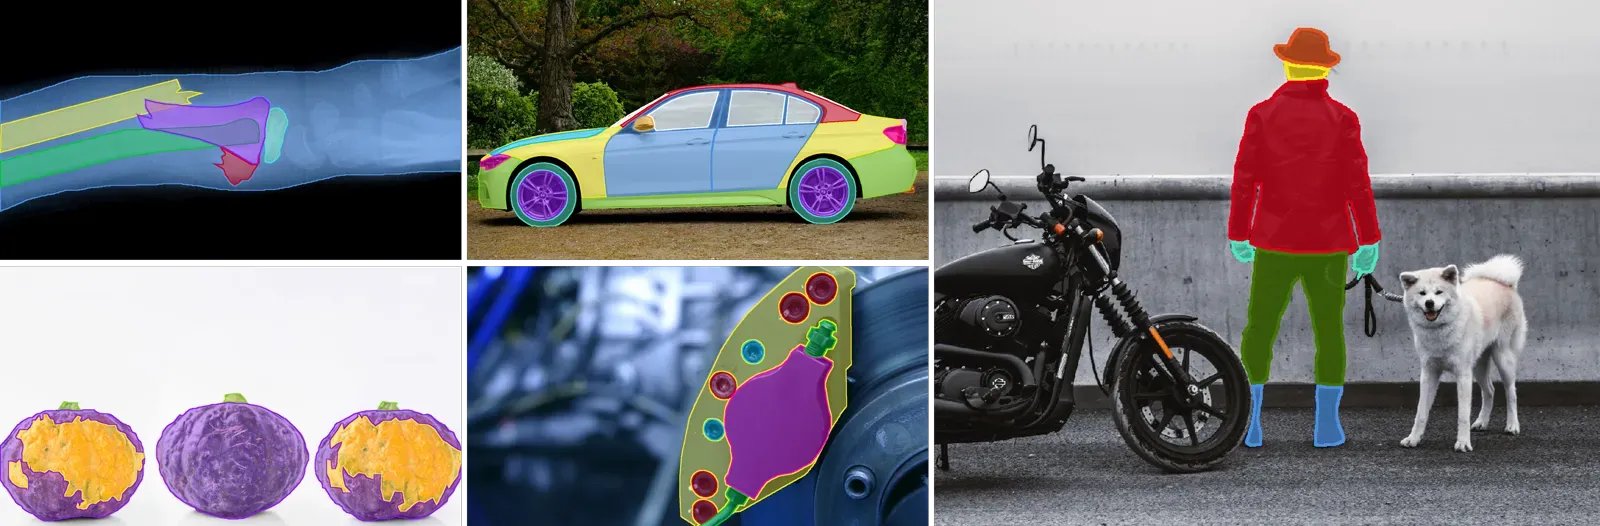 Industry examples where various component parts of an object have to be annotated for custom training dataset.
How to split an object into parts step by step
Watch the video guide first.
What you need: an images project and the Image Labeling Toolbox. No other app is needed.
Step 1. Create classes
Create a class for each component, such as Tire and Window. Make them in the project settings or from the objects panel with Create Class.
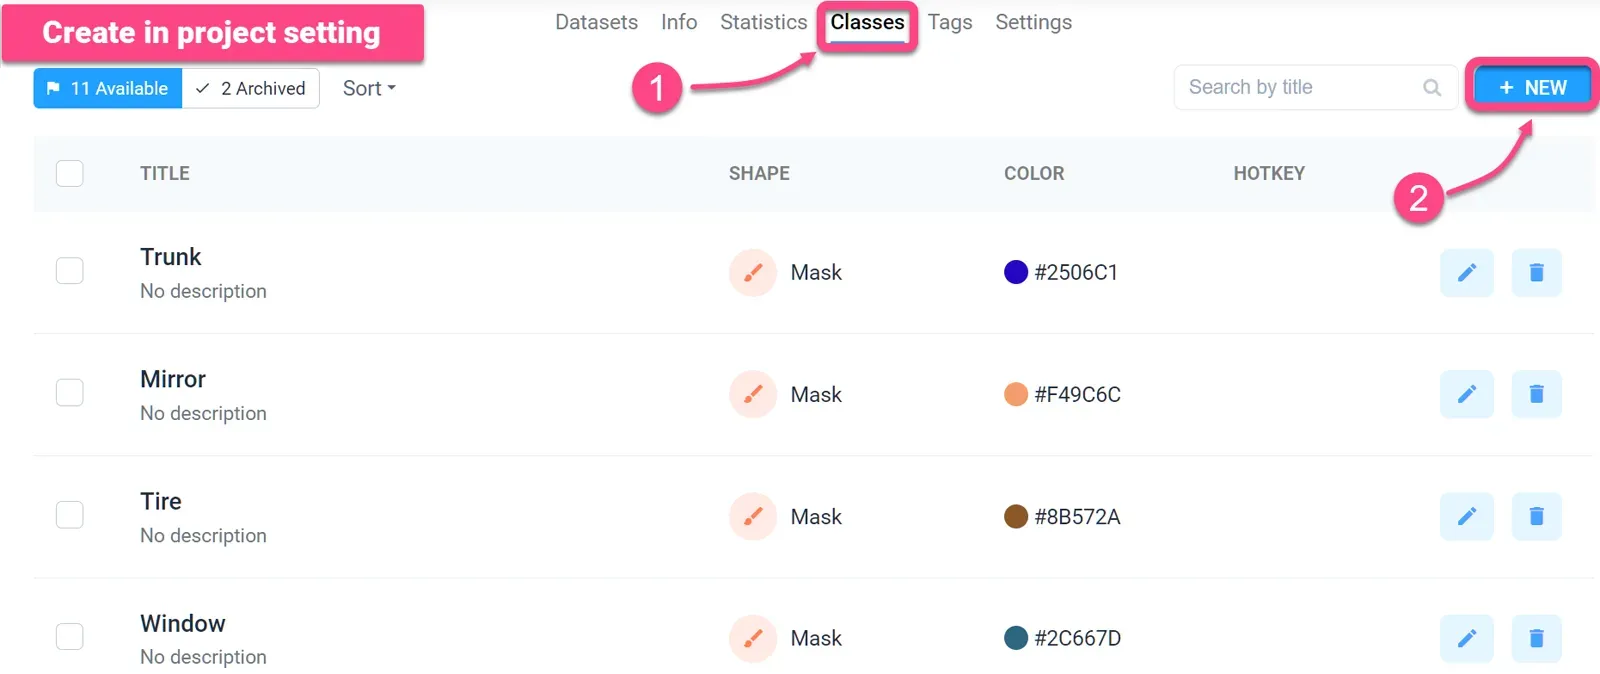 Create class in project setting
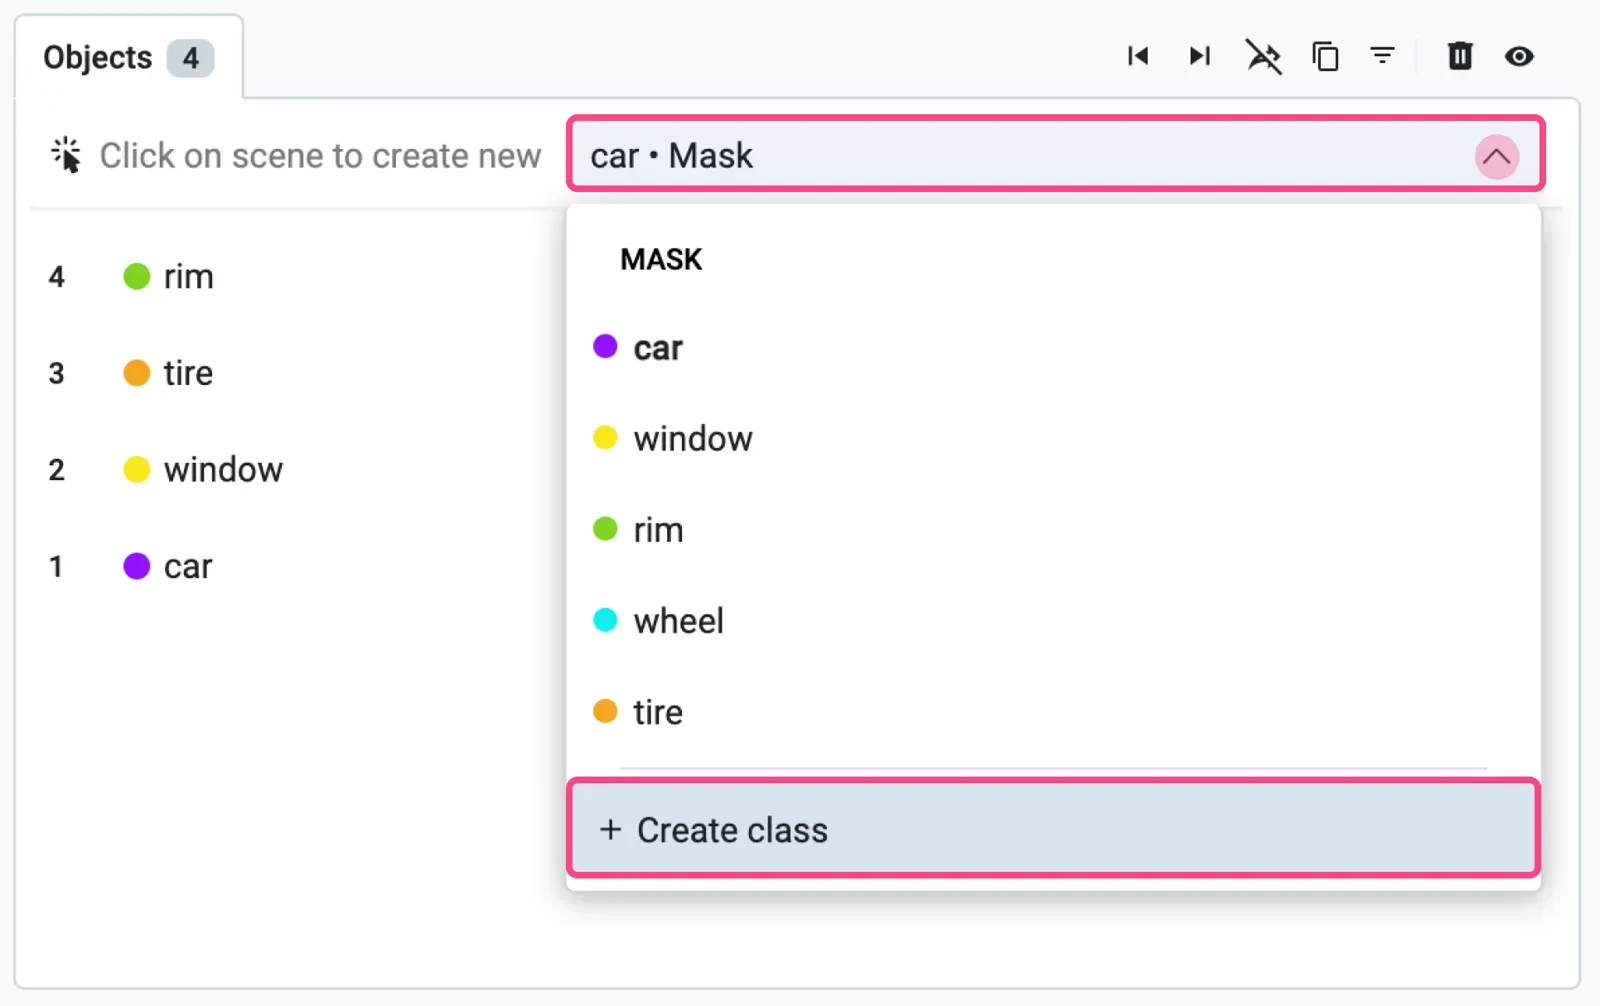 Create class in the objects panel
Step 2. Segment the whole object
Outline the whole object with the Mask Pen to create the primary mask.
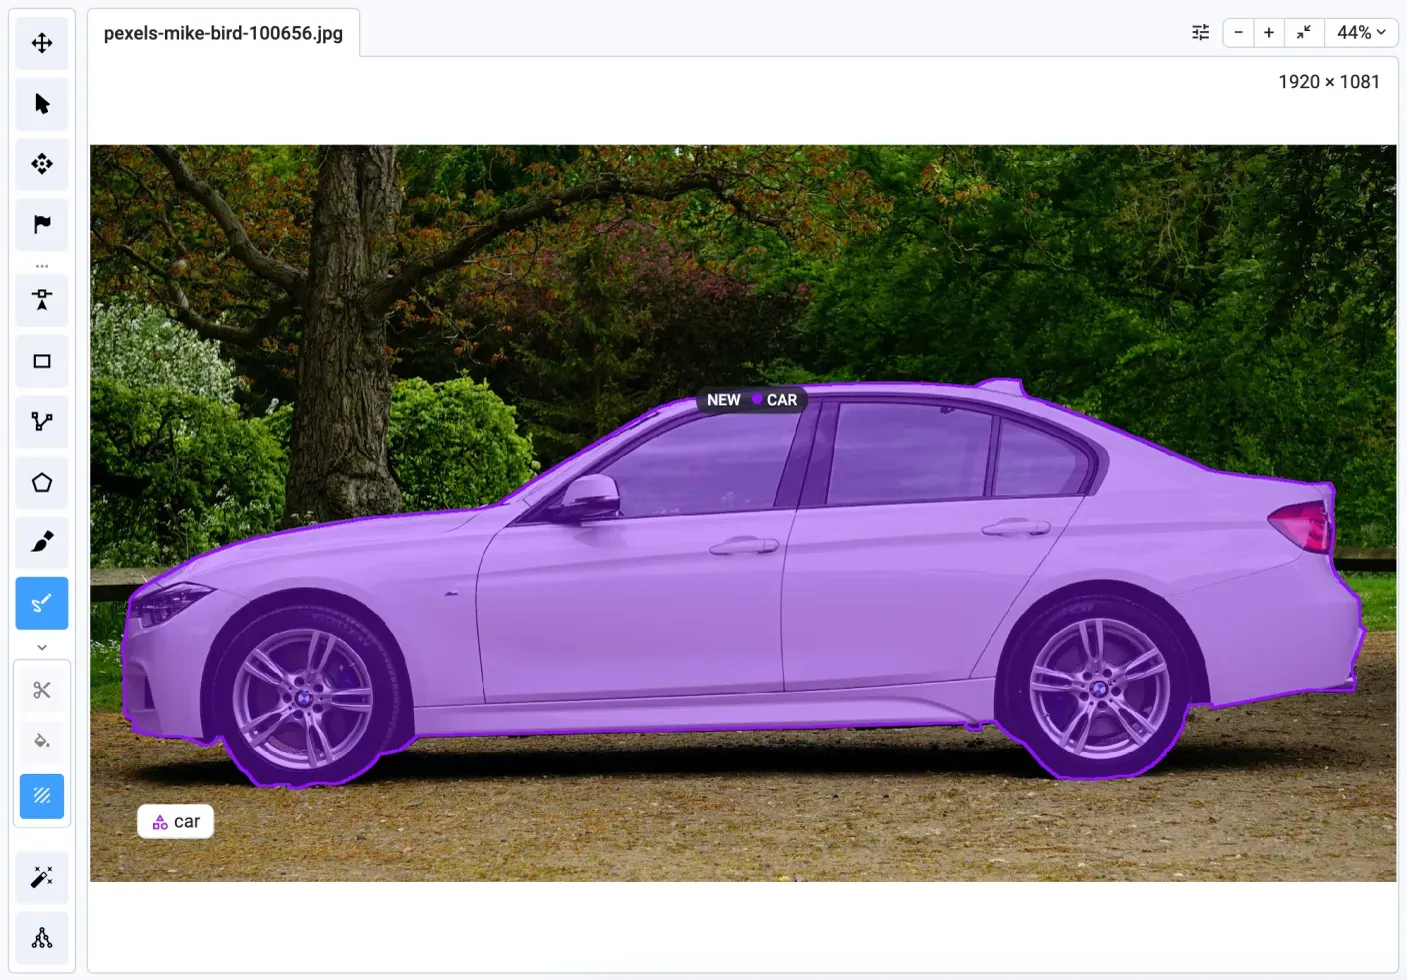 Entire object labeled with the Mask Pen tool
Hint: Copy the object first (CTRL+C, CTRL+V on Windows and Linux, CMD+C, CMD+V on macOS) and split the duplicate. You keep the original and can roll back. You can also bind the whole object with its parts later, when you prepare a training dataset.
Step 3. Split and classify the parts
Use Polygon Split to cut the duplicate into separate objects. Each part starts with the class of the whole object, so then change its class.
Hint: To cut out pixels at the edge fast, click anywhere near the boundary in an area with no other objects nearby.
Change the class in one of two ways:
- Right-click the object and choose Change Class, as in the video above.
- Select the object in the right panel and change its class.
Hint: To bind objects into groups, use the Group Nested Objects app.
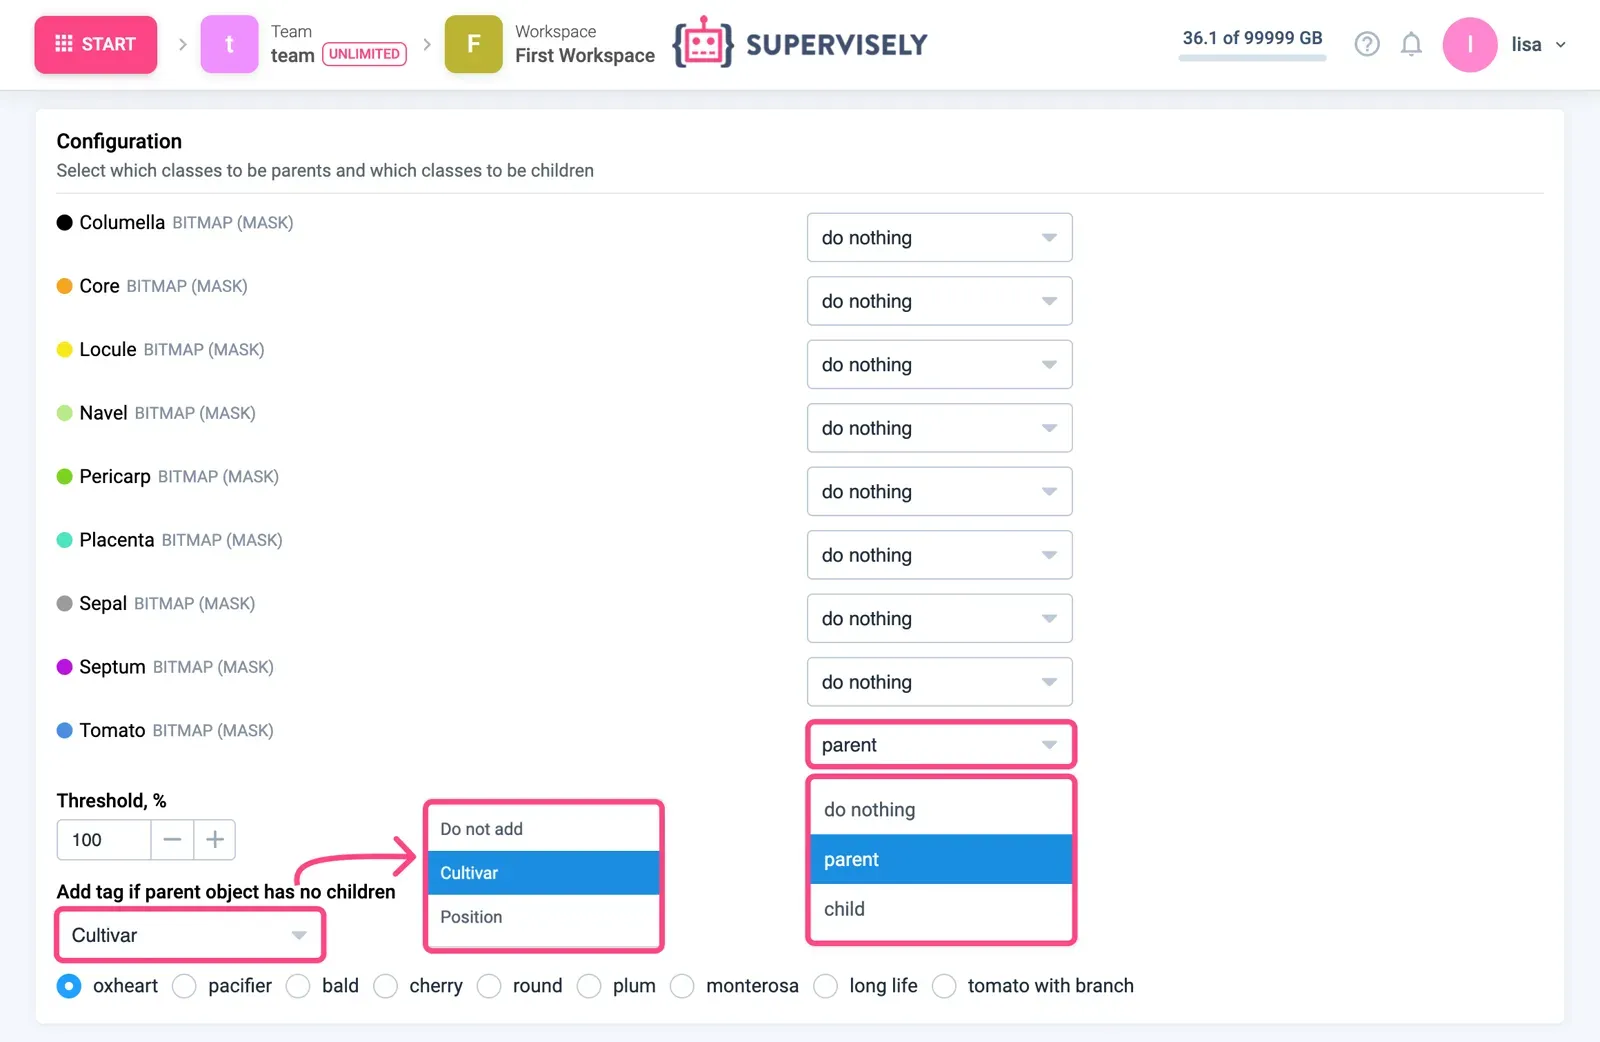 Group Nested Objects app in the Supervisely ecosystem
What should I do next?
Labeling many images by hand gets expensive. Speed up the first pass with the Smart Tool and custom models, then use the Mask Pen to polish. Manage the team and the review in labeling jobs and queues. If you need labeled data without building a team, see the training data annotation service.
Frequently asked questions
What is the Mask Pen tool?
The Mask Pen is a manual segmentation tool in the Supervisely image labeling toolbox. It combines polygon mode (click to place points, straight edges) and freehand brush mode (hold the mouse and draw) in a single mask, so one object can have both sharp and smooth edges.
What is the difference between the Mask Pen, Polygon and Brush tools?
A polygon stores a list of points and is best for hard, straight edges. A brush paints pixels and is best for soft, irregular shapes. The Mask Pen lets you switch between the two while you outline one object, and the result is a mask (bitmap) object.
How do I split an object into parts?
Draw the whole object with the Mask Pen, duplicate it, then outline a part with Polygon Split. The outlined area becomes a new object of the same class. Right-click it and choose Change Class to give the part its own class, for example Tire or Window.
How do I fill holes in a mask?
Use the Bucket Fill function in the tool subpanel and click inside the hole. You can also add area by drawing over it, or remove area by holding SHIFT while you draw.
What are the Mask Pen hotkeys?
Press 9 to select the tool. Click to form a polygon area, click and draw for a free shape, hold SHIFT to erase, press SPACE or click the first point to finish, and use SHIFT plus click to remove a point.
Can I label one object that is split into several visible pieces?
Yes. The brush part of the Mask Pen lets you mark separate, unconnected areas. Every area you draw belongs to the same object until you press SPACE and start a new one. This is useful for objects hidden behind other objects.