Best Bounding Box Image Annotation Tools For Object Detection - Complete Overview

How to use modern bounding box image labeling toolbox for Computer Vision in Supervisely.
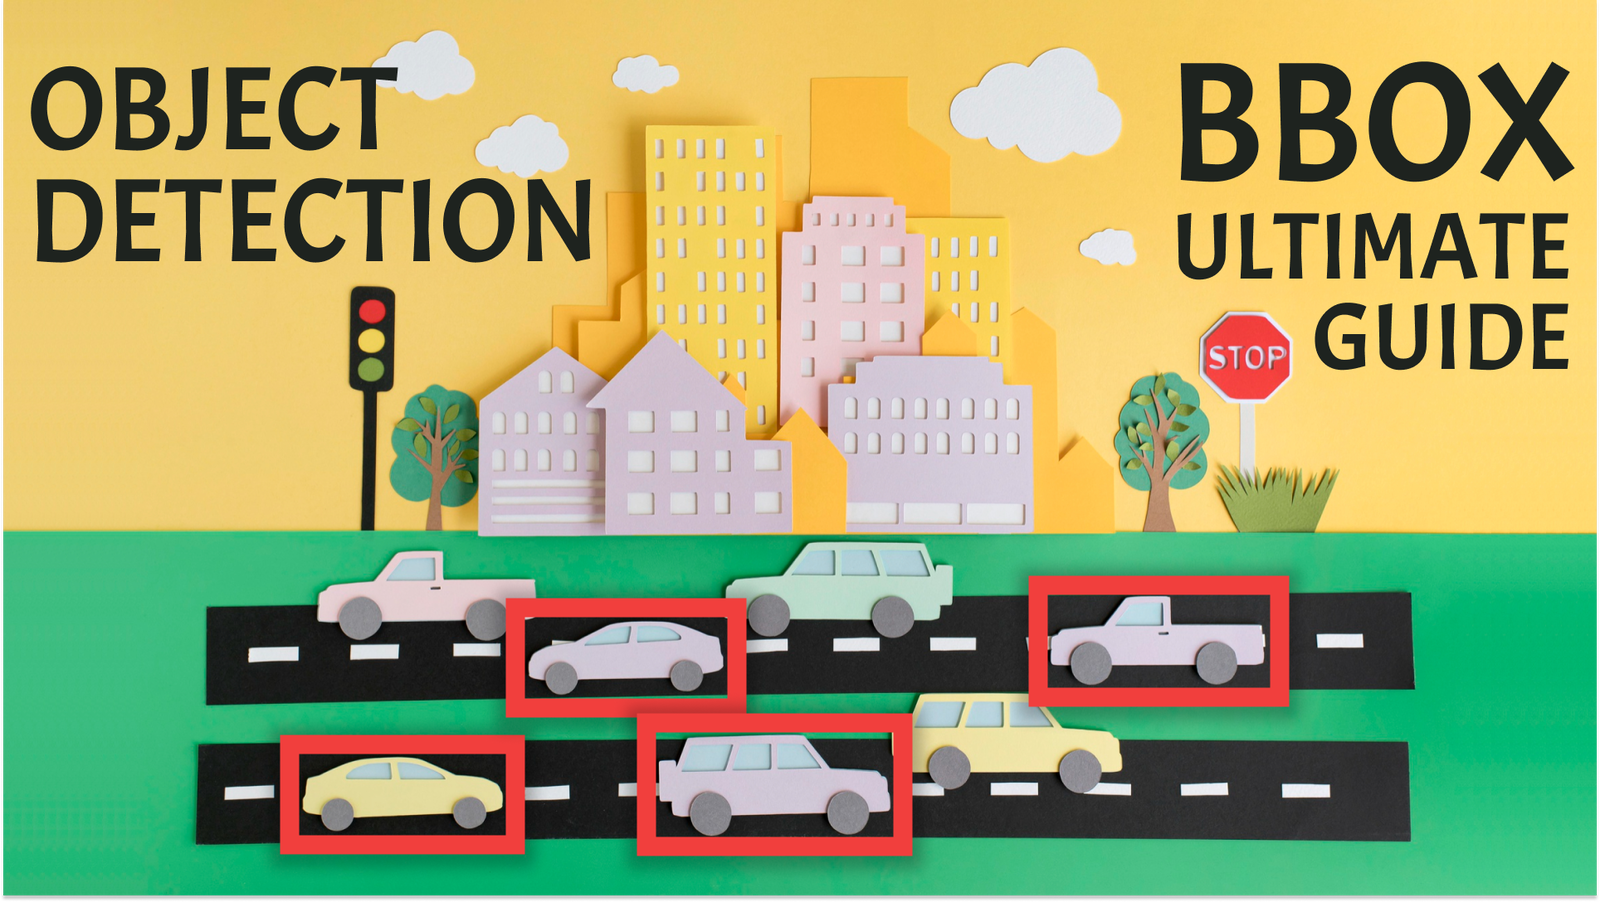
Table of Contents
What is Object Detection?
Object detection is a computer vision task of identification and localization of various objects, such as people, animals, and vehicles. The process involves the creation of rectangles around these objects.
Rectangles that precisely enclose an object are commonly referred to as bounding boxes. These boxes are defined by coordinates that indicate the position and size of the object.
In contrast to traditional image classification, which determines the presence of an object with a probability score, object detection allows for the precise localization of objects.
Why Object Detection is one of the most important CV tasks?
Object detection has wide application across different industries. Consider, for example, the development of a pothole monitoring system for roads. By accurately identifying the location, number, and size of potholes on the road, it is possible to warn drivers of potential hazards, plan and carry out timely repairs, and improve the overall condition of the road infrastructure. Detecting road defects early significantly enhances road safety and ensures a smoother driving experience.
Here are some examples of Object Detection applications:
-
Autonomous vehicles: Used to detect road signs, pedestrians, other vehicles and obstacles on the road to develop a control system for autonomous vehicles.
-
Agriculture: Monitoring plant growth, detecting disease and assessing fruit condition to help increase yields and optimize resource use.
-
Medical diagnostics: Can be used to analyze medical images or surgical videos to detect and track pathologies, tumors and medical instruments.
-
Retail: Checking the availability of goods on store shelves and monitoring customer behavior.
-
Security: Used for security in public places and buildings, including facial recognition for access control and detection of suspicious activity on video footage.
-
Energy: Can be used to inspect and maintain energy infrastructure such as power lines.
Manual Annotation: Enhance efficiency with our completely new Annotation Toolbox
Manual Object Detection involves annotators manually performing Object Detection. This method is crucial for tasks requiring high accuracy - e.g., in medical domain. Manual object detection can be time-consuming, especially for large datasets. Automating it isn't always suitable for every task
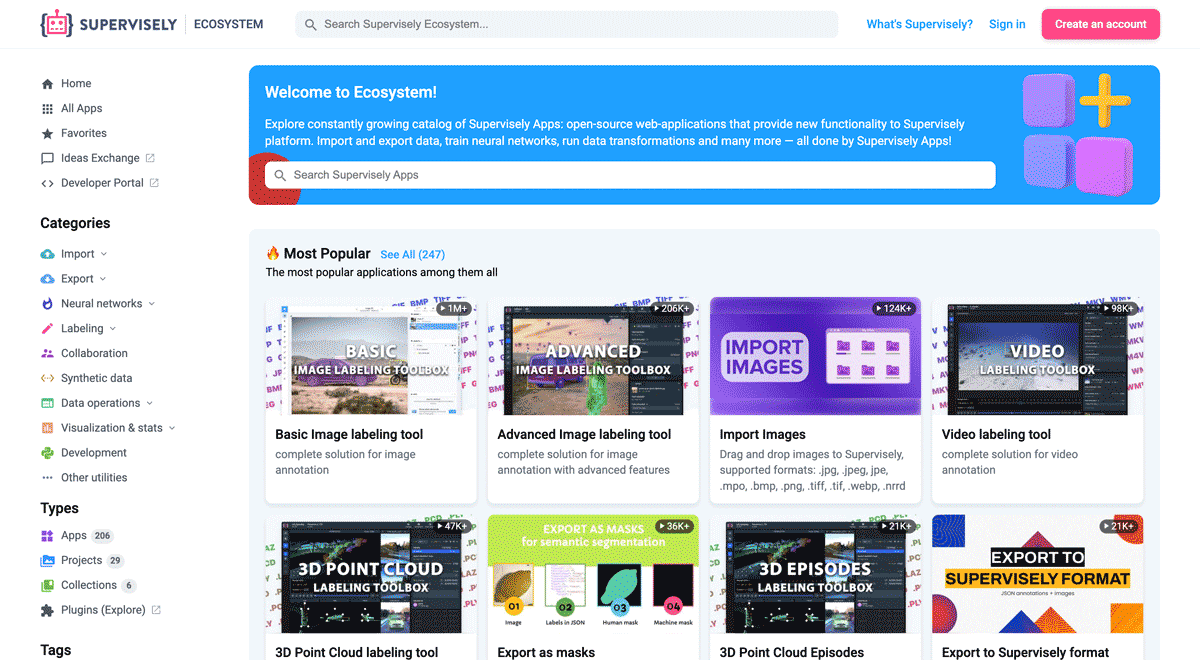
🔥 Our Supervisely Platform just released an enhanced Image Labeling Toolbox, leading the market with a significant redesign and expanded productivity features for image annotation.
While manual image annotation may initially appear challenging, our tool simplifies and streamlines the process, making it not only easier but also significantly more efficient. Also, it should be noted that we have redesigned all the Labeling Toolbox interface, making it more intuitive and user-friendly.
Video Tutorial
Watch our 5-minute video guide which provides clear and simple instructions on how to use our New Improved Image Labeling Toolbox for Manual Bounding Boxes Annotation.
Discover how our new Image Labeling Toolbox streamlines manual Object Detection:
-
Efficiently Create Bounding Boxes with Minimal Clicks
Optimize your annotation workflow by creating bounding boxes with just a few clicks, ensuring efficient and time-saving image labeling. You don't have to finish labeling the previous object by pressing
SPACEto move on to the next one; simply set new points. Images with multiple objects can now be labeled 2x faster. -
Auto-Select the most recent class quickly
To quickly switch between classes, use the
Auto-Selectfeature. Move your cursor to the desired class within the image, and it will change automatically. This simplifies the annotation process for images with multiple object classes. -
Auto-Select for fast editing of Bounding Box
With
Auto-Select, you also can easily edit existing Bounding Boxes, including those predicted by the Neural Network. You don't need to select each object in the image separately and switch between tools. -
Improved Crosshair for More Accurate Object Detection
The crosshair is now more visible and adopts the color of the selected class, simplifying object positioning for precise annotation.
-
Randomizing Figure Colors to Differentiate Objects of the Same Class
Alter the color of any object instantly and as many times as you like with a single click. This feature is especially helpful when dealing with numerous objects of the same class in an image, or when they are closely spaced, making it challenging to differentiate bounding boxes.
-
Easily switching between object classes
Changing the object's class is simple: select the labeled object you want to change and choose a new class from the
Figuresmenu. If the desired class is not present, you can create a new one. For existing classes, consider using theAuto-selectfunction.
Semi-Automated Tools: Object Detection with OWL-ViT
Semi-automated tools blend automation with human input for data analysis, prediction, and annotation. They are applied in complex tasks or when expert oversight is needed. They can be preferred in cases of diverse objects or single-class datasets, involving more human input compared to fully automated methods.
One of the tools which may be used for semi-automated Object Detection is OWL-ViT.
OWL-ViT (short for Vision Transformer for Open-World Localization) is an object detection Neural Network trained on a variety of image - text pairs. It can be used in text prompt mode to detect objects described in text queries or in reference image mode to detect object which was framed by a bounding box on a reference image.
To learn how to use this model, you can follow the short steps presented in this post, or read our Comprehensive OWL-ViT Guide.
How to use it?
Step 1. Connect your GPU
Given that the OWL-ViT detector is a large base neural network, utilizing a GPU is advisable for quicker image predictions, especially when dealing with thousands or even millions of images. This video explains how to do it.
Step 2. Run OWL-ViT model
Just run the Supervisely App Serve OWL-ViT which deploys the OWL-ViT model.
NN image labeling app will allow you to apply any model to the entire image or to the selected region of interest, configure inference settings like confidence thresholds or select all or several model classes.
Serve OWL-ViT
Class-agnostic interactive detection for auto-prelabeling

NN Image Labeling
Use deployed neural network in labeling interface
Step 3. Use OWL-ViT in the labeling tool
-
Open the labeling interface, launch the NN image labeling app, and connect to the deployed model.
-
Label only one example with a bounding box and the model will save it as a reference object (or define a text prompt).
-
Apply the model on an open image, make manual adjustments to the predictions if necessary, and go to the next image.
-
To update the reference object, choose the new object and click
Apply model to ROI. The model will then store it as a new reference sample.
Step 4. Predict OWL-ViT on all images at once
We've created a user-friendly Supervisely App that enables you to effortlessly configure the OWL-ViT model, preview results, and automatically pre-label objects in your custom dataset, simplifying your labeling process.

Apply OWL-ViT To Images Project
Class-angnostic object detection model
-
Select the input project or dataset and connect to the deployed OWL-ViT model.
-
Choose inference mode:
If you are using the
Reference Imagemode, you will need to select an image from your dataset and annotate an instance of the target object by drawing a bounding box around it.Alternatively, if you choose the
Text Promptmode, you should provide a textual description of the objects you want the system to automatically detect. -
Define additional inference settings and preview predictions on random images from your dataset by pressing the
Predictions Previewbutton. -
Apply to your data. A new project is created with the input images and annotations automatically generated by OWL-ViT.
Automated pre-labeling with YOLOv8
This approach strives for complete automation in object detection, eliminating the need for initial human involvement. It enables object detection without pre-labeling instances, offering convenience. However, it may generally provide lower accuracy compared to manual or semi-automatic methods.
Automated pre-labeling is the fastest and simplest way to detect objects. It's most useful when dealing with extensive datasets where annotation quality isn't critical. For instance, in tasks involving counting or simply identifying the presence of something.
YOLOv8 is a state-of-the-art neural network for computer vision tasks, including Object Detection. It is designed to work fast even on edge devices in robotics and at the same time produces accurate predictions.
Serve YOLOv8 | v9 | v10 | v11
Deploy YOLOv8 | v9 | v10 | v11 as REST API service
Now we will focus on the application of this model for solving the Object Detection task, but if you're interested in the easiest way to train a custom YOLOv8 model on your own dataset and want to know how to deploy it without writing code, this in-depth technical post is written for you!
Step 1. Connect your GPU
All neural networks perform best when run on GPUs. You can find a detailed guide on connecting your GPU to Supervisely in this video.
Step 2. Deploy a trained model
In Supervisely you can quickly deploy custom or pretrained YOLOv8 model weights on your GPU using the Serve YOLOv8 app in just a few clicks. Observe the process in the video tutorial, or delve the App Readme for further insights on deploying the model.
Step 3. Use in labeling tool during annotation
NN Image Labeling
Use deployed neural network in labeling interface
You are already familiar with NN Image Labeling application. It allows you to automatically pre-label images and then manually correct model errors. After launching the NN Image Labeling application and connecting to your model, simply press the Apply model to image button and the YOLOv8 model will label the image for you.
Step 3. Apply model to all images at once

Apply NN to Images Project
NN Inference on images in project or dataset
Using application Apply NN to Images Project, you can easily configure inference settings, model output classes, and tags, as well as preview predictions. The app also takes care of adding classes and tags to your project automatically.
If you have an extensive image dataset, whether it comprises thousands or even millions of images, you can efficiently pre-label them all at once using both pre-trained or your custom model.
Here's how to make it happen:
-
Begin by selecting your input data.
-
Connect to deployed YOLOv8 model.
-
Choose the specific classes you want to retain after the prediction process. Any other classes will be ignored.
-
Fine-tune your inference settings as needed.
-
Preview final predictions on random image from your dataset by press
Previewbutton. -
Apply model to the input data, and watch as a new project is automatically generated. This new project will contain the input images, along with annotations generated by YOLOv8.
Conclusion
In conclusion, our guide has covered the essential aspects of Object Detection, from its practical applications across various industries to different annotation methods, including manual, semi-automated and automated approaches. We've introduced New improved Image Labeling Toolbox for efficient manual object detection.
With these tools and features, we aim to simplify and enhance object detection, keeping you at the forefront of computer vision developments.
Supervisely for Computer Vision
Supervisely is online and on-premise platform that helps researchers and companies to build computer vision solutions. We cover the entire development pipeline: from data labeling of images, videos and 3D to model training.
The big difference from other products is that Supervisely is built like an OS with countless Supervisely Apps — interactive web-tools running in your browser, yet powered by Python. This allows to integrate all those awesome open-source machine learning tools and neural networks, enhance them with user interface and let everyone run them with a single click.
You can order a demo or try it yourself for free on our Community Edition — no credit card needed!
Liked this blog post? Share it!


Subscribe to new blog posts
Table of Contents
🤖 Try Supervisely: it's free!
Full stack platform with hundreds of Apps ready to solve any computer vision task: from labeling to model training. Create account


